
手把手教你用SpringBoot将文件打包成zip存放或导出
手把手教你用SpringBoot将文件打包成zip存放或导出
相信各位看官在工作中都会遇到过要把多个文件打包成一个压缩文件然后导出,或者将文件打包成Zip存放,这就来上代码,废话不多说,需要的朋友可以参考下
环境准备
其实也没什么准备,准备好Springboot就行,还有几张图片:

将文件打包成Zip存放
代码
Controller代码:
1 2 3 4 5 6 7 8 9 10 11 12 13 14 15 16 17 18 19 20 21 22 23 24 25 | @RequestMapping("/zip")@RestControllerpublic class ZipController { /** * 将文件打包成zip并存放在特定位置 */ @PostMapping("package") public void packageFileToZip() throws IOException { // 为了方便我直接将文件地址写好了,各位可以根据自己的情况修改 String[] filePath = new String[]{"E:\\ykds\\1068128498917799516.jpg", "E:\\ykds\\1068128498917917980.jpg", "E:\\ykds\\1068128498917807874.jpg"}; // 将需要打包的文件都放在一个集合中 List<File> fileList = new ArrayList<>(); for (String s : filePath) { File file = new File(s); fileList.add(file); } // 先在D盘创建一个压缩包 File zipFile = new File("D:\\package.zip"); if(!zipFile.exists()) zipFile.createNewFile(); // 将package.zip的File对象传到toZip对象中 ZipUtils.toZip(fileList, zipFile); }} |
ZipUTils工具类代码
1 2 3 4 5 6 7 8 9 10 11 12 13 14 15 16 17 18 19 20 21 22 23 24 25 26 27 28 29 30 31 32 33 34 35 36 37 38 39 40 41 | public class ZipUtils { /** * 把文件集合打成zip压缩包 * @param srcFiles 压缩文件集合 * @param zipFile zip文件名 * @throws RuntimeException 异常 */ public static void toZip(List<File> srcFiles, File zipFile) throws IOException { if(zipFile == null){ return; } if(!zipFile.getName().endsWith(".zip")){ return; } ZipOutputStream zos = null; FileOutputStream out = new FileOutputStream(zipFile); try { zos = new ZipOutputStream(out); for (File srcFile : srcFiles) { byte[] buf = new byte[BUFFER_SIZE]; zos.putNextEntry(new ZipEntry(srcFile.getName())); int len; // 读取文件并写入到zip中 FileInputStream in = new FileInputStream(srcFile); while ((len = in.read(buf)) != -1) { zos.write(buf, 0, len); zos.flush(); } in.close(); } } catch (Exception e) { e.printStackTrace(); }finally { if (zos != null) { zos.close(); } } }} |
测试
代码打好了,接下来测试下,打开熟悉的postman:

调用接口后就会在D盘中新建一个package.zip的压缩包:

可以看到,我打包的文件都在这里,再看看能不能正常显示:
 very good!
将文件打包成zip并导出
上面的方法只是将压缩包保存在本地,如果需要导出的话代码有点不一样。
代码
Controller代码:
1 2 3 4 5 6 7 8 9 10 11 12 13 14 15 16 17 | /** * 将文件打包成zip并下载 */ @PostMapping("download") public void download(HttpServletResponse response) throws IOException { // 这里还是和上面一样 String[] filePath = new String[]{"E:\\ykds\\1068128498917799516.jpg", "E:\\ykds\\1068128498917917980.jpg", "E:\\ykds\\1068128498917807874.jpg"}; List<File> fileList = new ArrayList<>(); for (String s : filePath) { File file = new File(s); fileList.add(file); } response.setHeader("content-type", "application/octet-stream"); response.setContentType("application/octet-stream"); response.setHeader(HttpHeaders.CONTENT_DISPOSITION, "attachment; filename=download.zip"); ZipUtils.downloadZip(response.getOutputStream(), fileList); } |
ZipUtils工具类代码
1 2 3 4 5 6 7 8 9 10 11 12 13 14 15 16 17 18 19 20 21 22 23 24 25 26 27 28 29 30 31 32 33 34 35 36 37 38 39 | public static void downloadZip(OutputStream outputStream, List<File> fileList){ BufferedInputStream bufferedInputStream = null; ZipOutputStream zipOutputStream = null; try { zipOutputStream = new ZipOutputStream(outputStream); for (File file : fileList) { ZipEntry zipEntry = new ZipEntry(file.getName()); zipOutputStream.putNextEntry(zipEntry); byte[] buf = new byte[BUFFER_SIZE]; int len; FileInputStream in = new FileInputStream(file); while ((len = in.read(buf)) != -1) { zipOutputStream.write(buf, 0, len); zipOutputStream.flush(); } } zipOutputStream.flush(); zipOutputStream.close(); } catch (IOException e) { e.printStackTrace(); } finally { // 关闭流 try { if (bufferedInputStream != null) { bufferedInputStream.close(); } if (zipOutputStream != null ) { zipOutputStream.close(); } if (outputStream != null) { outputStream.close(); } } catch (IOException e) { e.printStackTrace(); } } } |
测试
还是用postman:


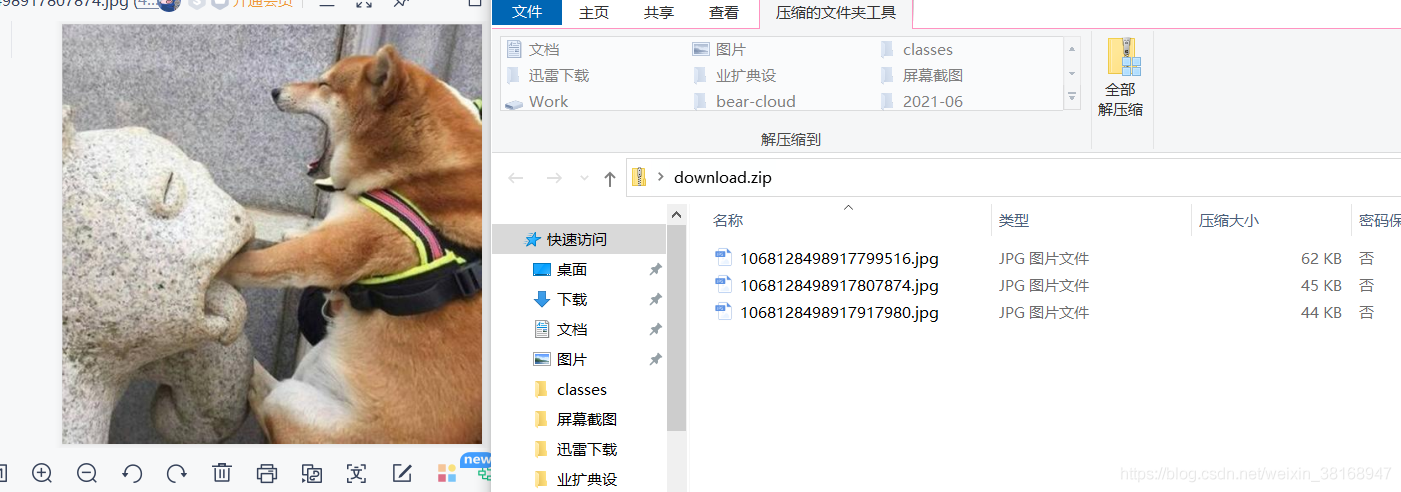
下载完成后打开看看
到此这篇关于手把手教你用SpringBoot将文件打包成zip存放或导出的文章就介绍到这了,更多相关SpringBoot将文件打包成zip内容请搜索脚本之家以前的文章或继续浏览下面的相关文章希望大家以后多多支持脚本之家!
您可能感兴趣的文章:
springboot单文件下载和多文件压缩zip下载的实现
Springboot jar文件如何打包zip在linux环境运行
Springboot打包部署修改配置文件的方法
Idea打包springboot项目没有.original文件解决方案
一文解决springboot打包成jar文件无法正常运行的问题
原文链接:https://blog.csdn.net/weixin_38168947/article/details/117747024