
Python实现图片指定位置加图片水印(附Pyinstaller打包exe)
这篇文章主要介绍了Python实现图片指定位置加图片水印,文中通过示例代码介绍的非常详细,对大家的学习或者工作具有一定的参考学习价值,需要的朋友们下面随着小编来一起学习学习吧
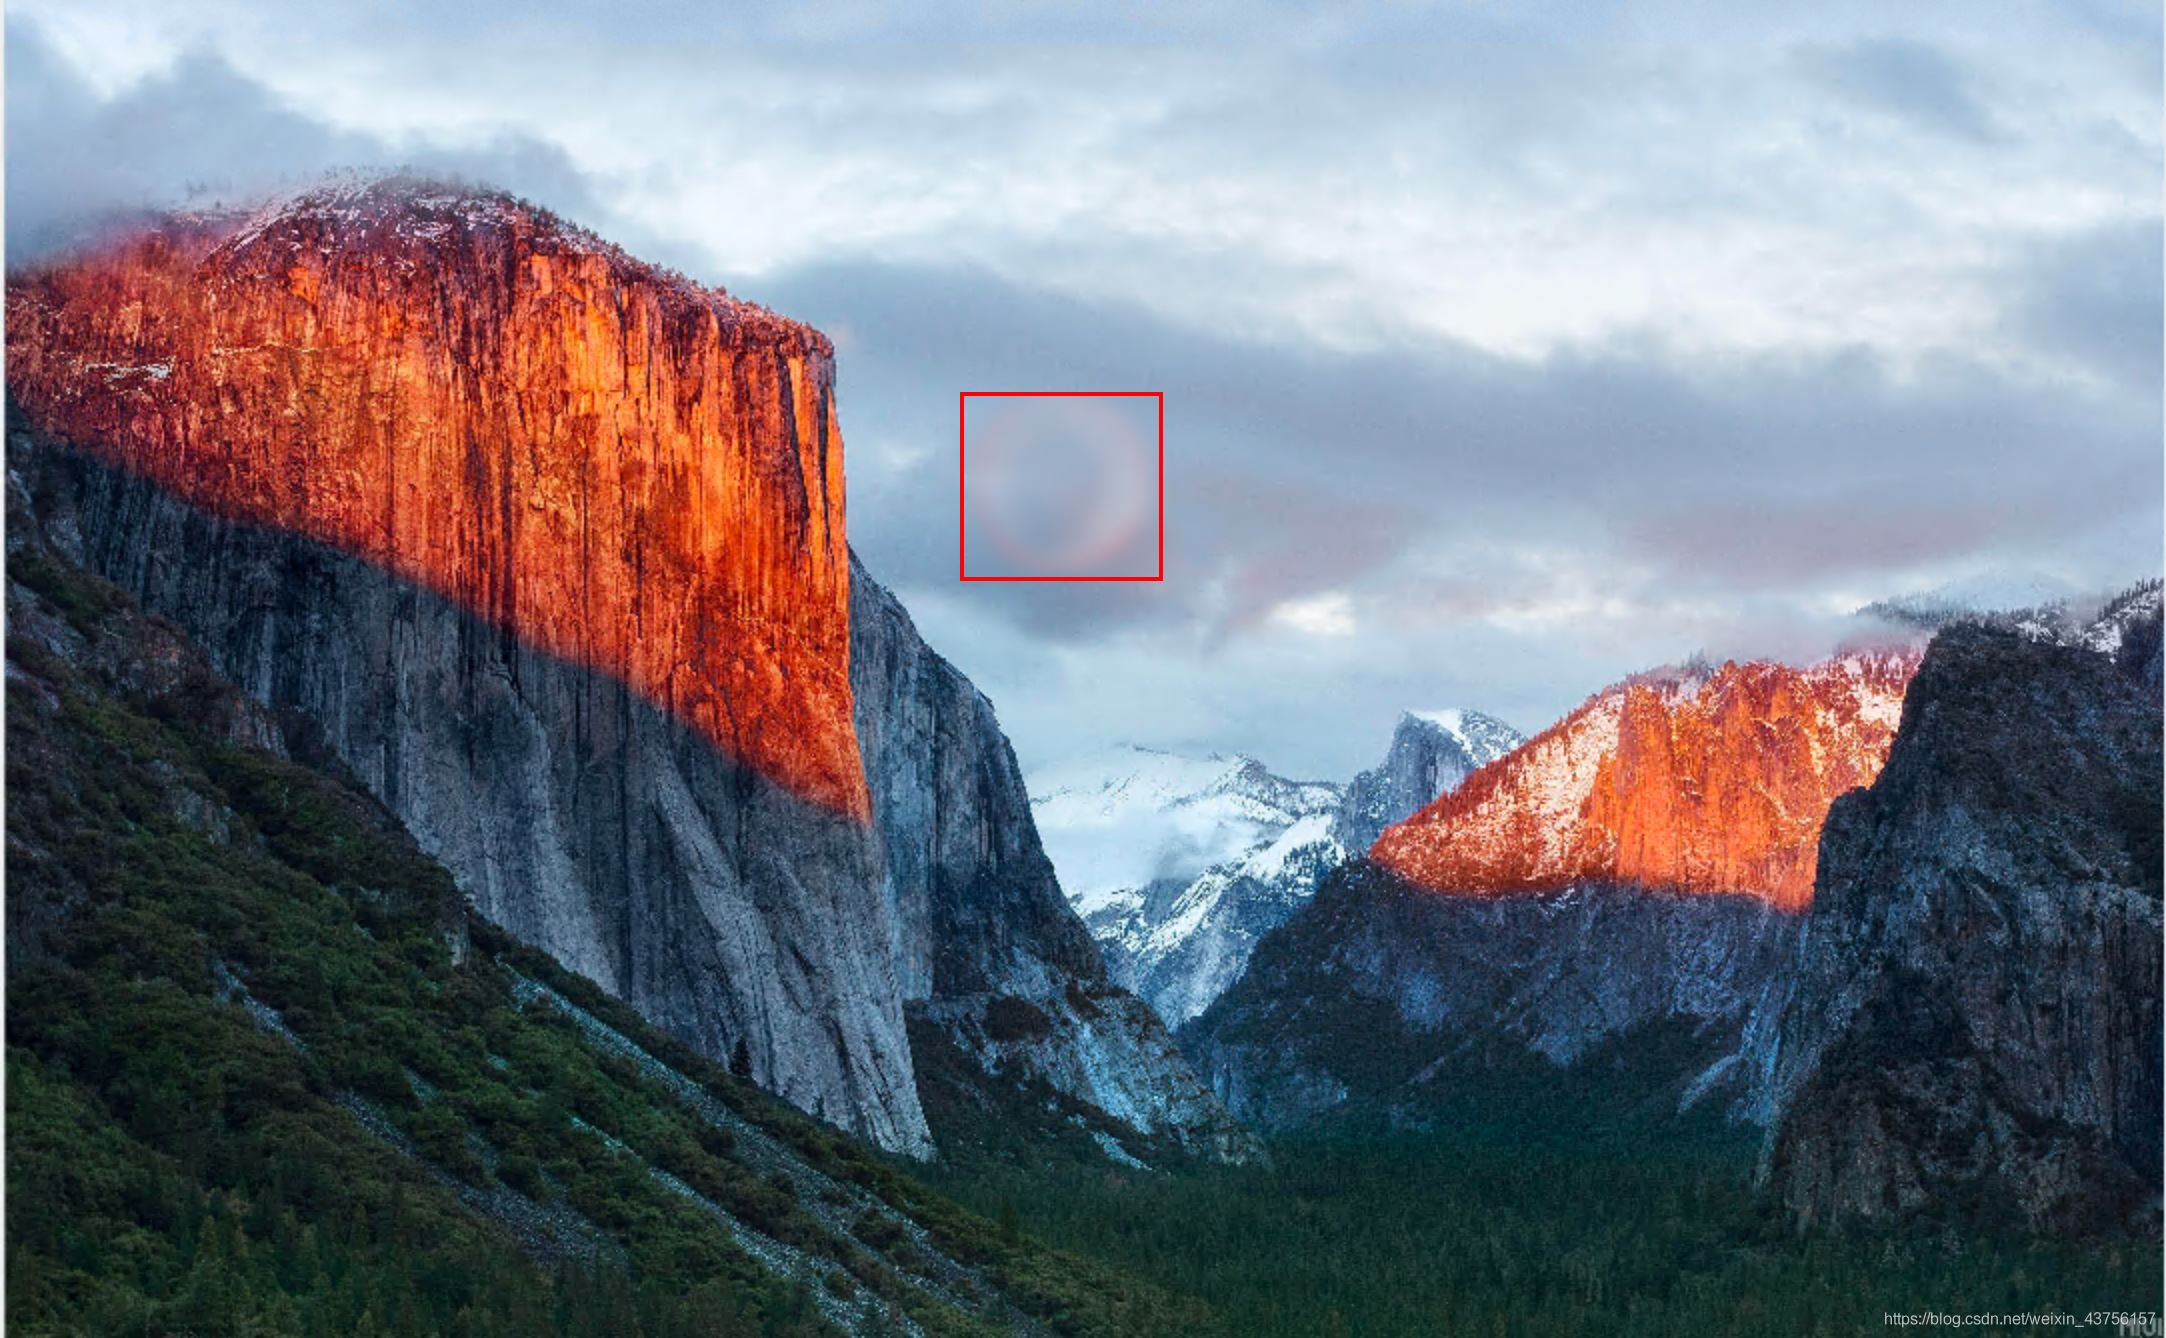
(一)功能实现效果:
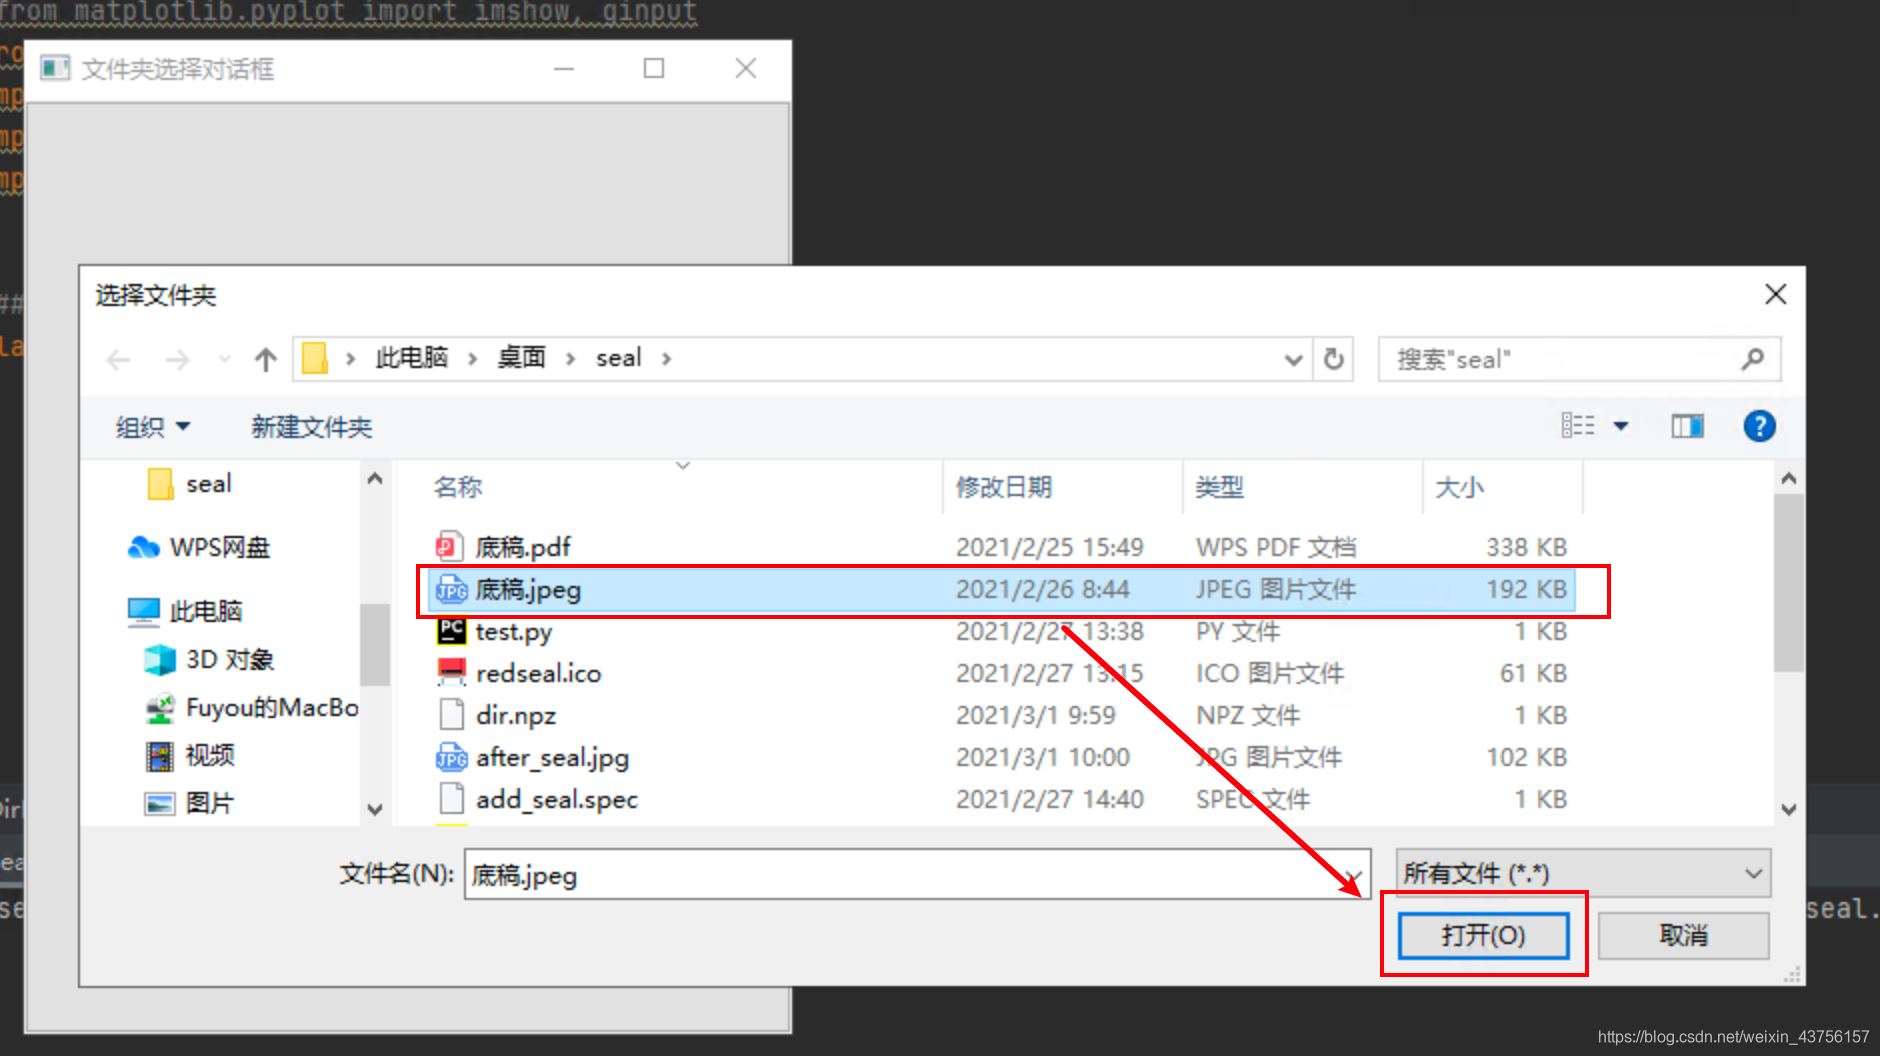
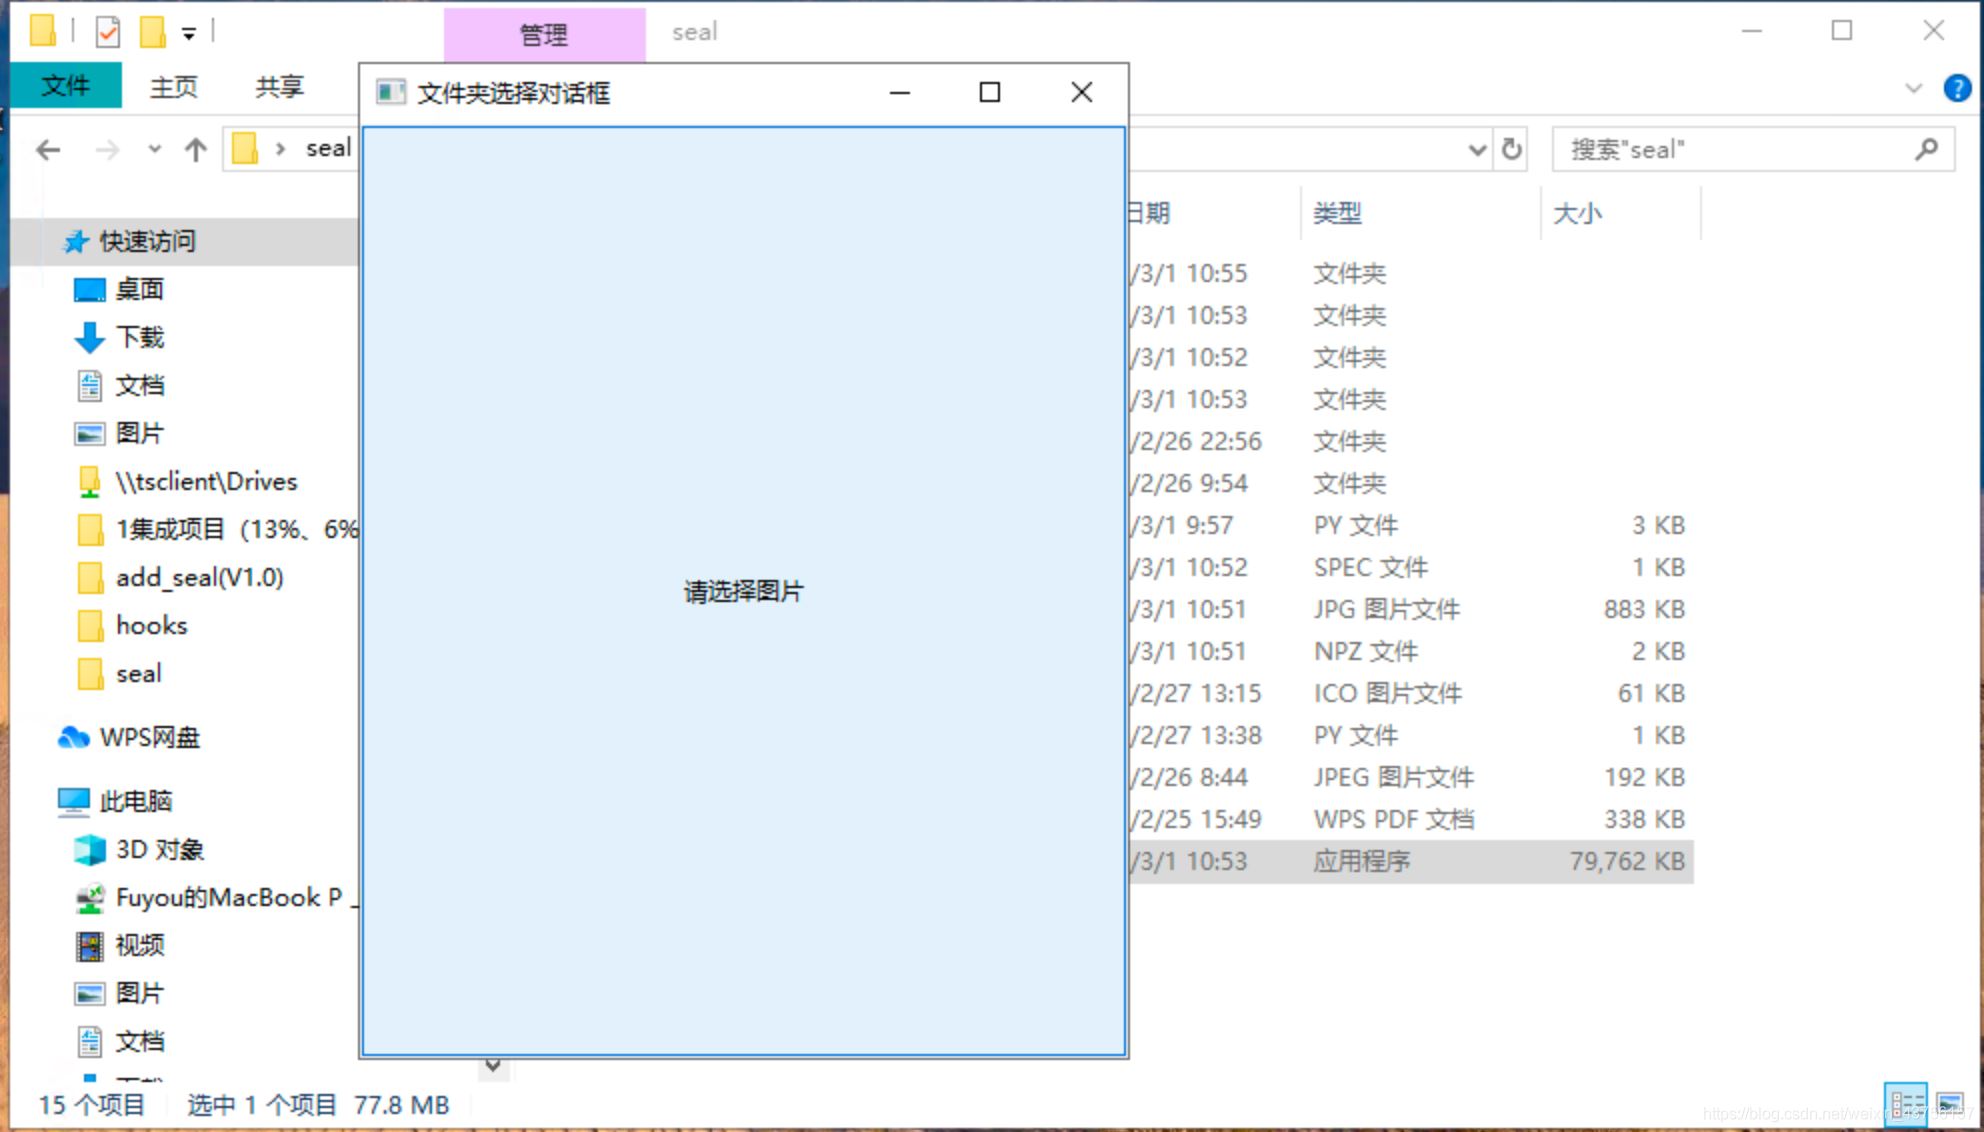
选择文件的效果:

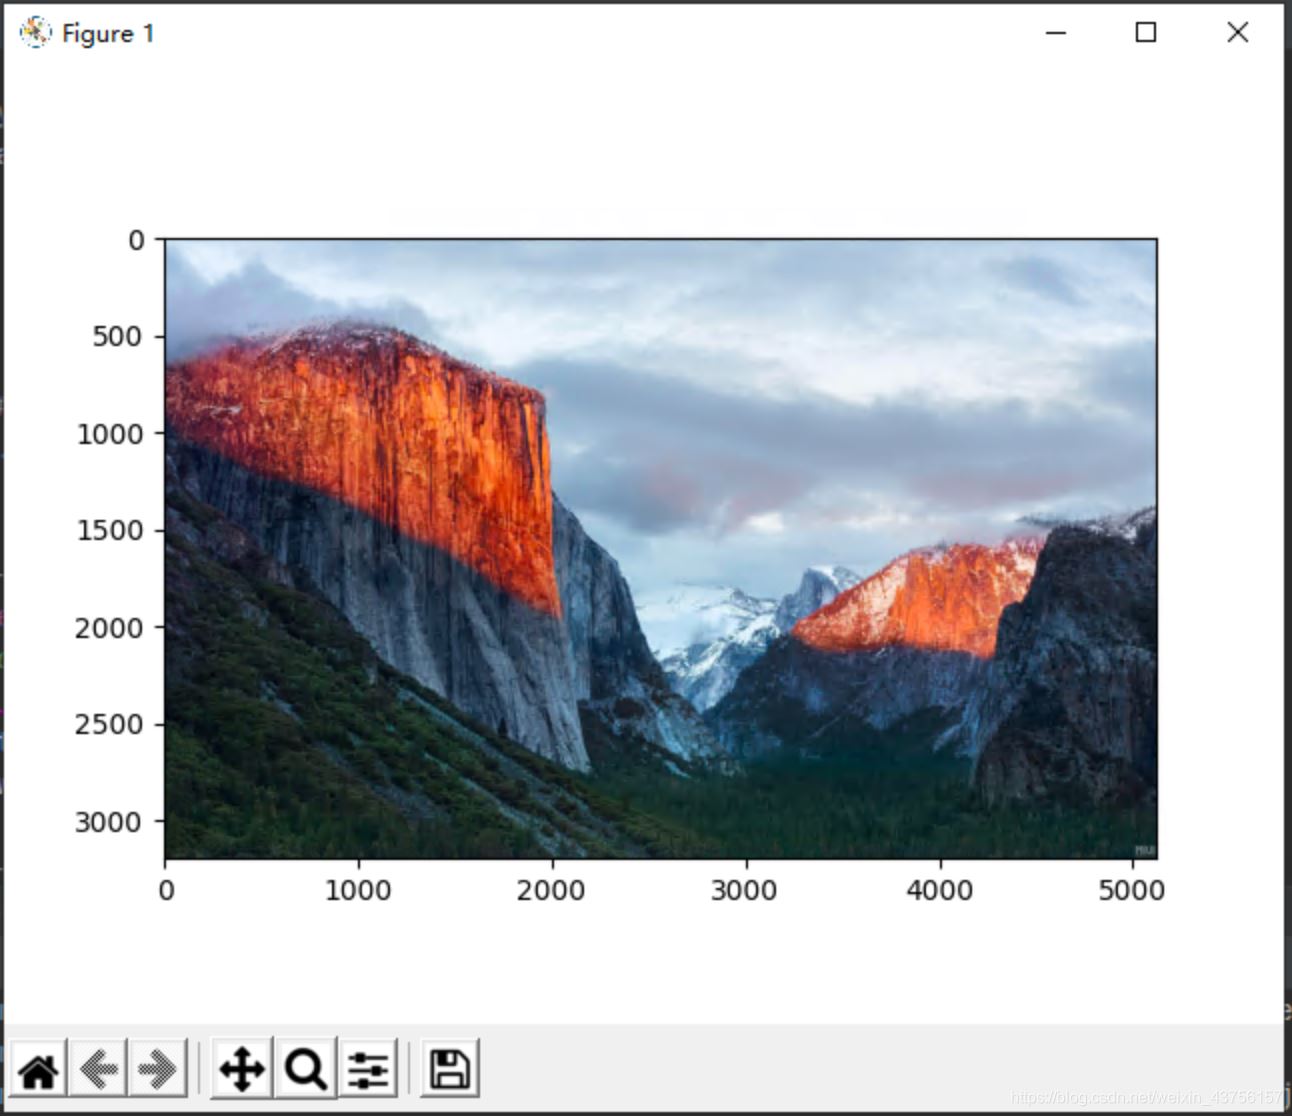
标记预加水印的位置:
(二)Python代码:
1 2 3 4 5 6 7 8 9 10 11 12 13 14 15 16 17 18 19 20 21 22 23 24 25 26 27 28 29 30 31 32 33 34 35 36 37 38 39 40 41 42 43 44 45 46 47 48 49 50 51 52 53 54 55 56 57 58 59 60 61 62 63 64 | # -*l- coding:utf-8 *import os, io, sys, re, time, jsonfrom pandas import arrayimport matplotlib.backends.backend_tkaggimport matplotlibmatplotlib.use('TkAgg')import matplotlib.pyplot as plt#from matplotlib.pyplot import imshow, ginputfrom PIL import Image, ImageEnhance, ImageFilterimport wximport numpy as npimport randomclass DirDialog(wx.Frame): def __init__(self): """Constructor""" wx.Frame.__init__(self, None, -1, u"文件夹选择对话框") b = wx.Button(self, -1, u"请选择图片") self.Bind(wx.EVT_BUTTON, self.OnButton, b) def OnButton(self, event): # file_wildcard = "Paint files(*.paint)|*.paint|All files(*.*)|*.*" dlg = wx.FileDialog(self, u"选择文件夹", style=wx.DD_DEFAULT_STYLE) if dlg.ShowModal() == wx.ID_OK: jpegname = dlg.GetPath() # 文件夹路径 print(jpegname) np.savez('dir.npz', k_a=str(jpegname)) dlg.Destroy()def sealmark(img_seal, img_new): try: data_a = np.load('dir.npz')#保存地址数据 img_source = str(data_a['k_a']) # 原图片的地址 im1 = Image.open(img_source) plt.imshow(im1) xy = plt.ginput(1) xo = xy[0][0] yo = xy[0][1] ks = im1.size[1] * 0.000478 wm = Image.open(img_seal) wm = wm.resize((int(wm.width * ks), int(wm.height * ks))) # wm.with * k=280 * ks layer = Image.new('RGBA', im1.size, (0, 0, 0, 0)) layer.paste(wm, (int(xo), int(yo))) newIm = Image.composite(layer, im1, layer) newIm.save(img_new) print(img_seal) except Exception as e: print(">>>>>>>>>>> sealMark EXCEPTION: " + str(e)) return False else: return Trueif __name__ == '__main__': frame = wx.App() app = DirDialog() app.Show() frame.MainLoop() sealmark("水印\水印" + str(random.randrange(10)) + ".png", "after_seal.jpg") #random.randrange(10):随机在水印库中挑选一张PNG水印图片 |
(三)Python打包成exe程序:
在终端里输入pyinstaller -F -w add_seal.py
1 | C:\Users\Administrator\Desktop\seal>pyinstaller -F -w add_seal.py |
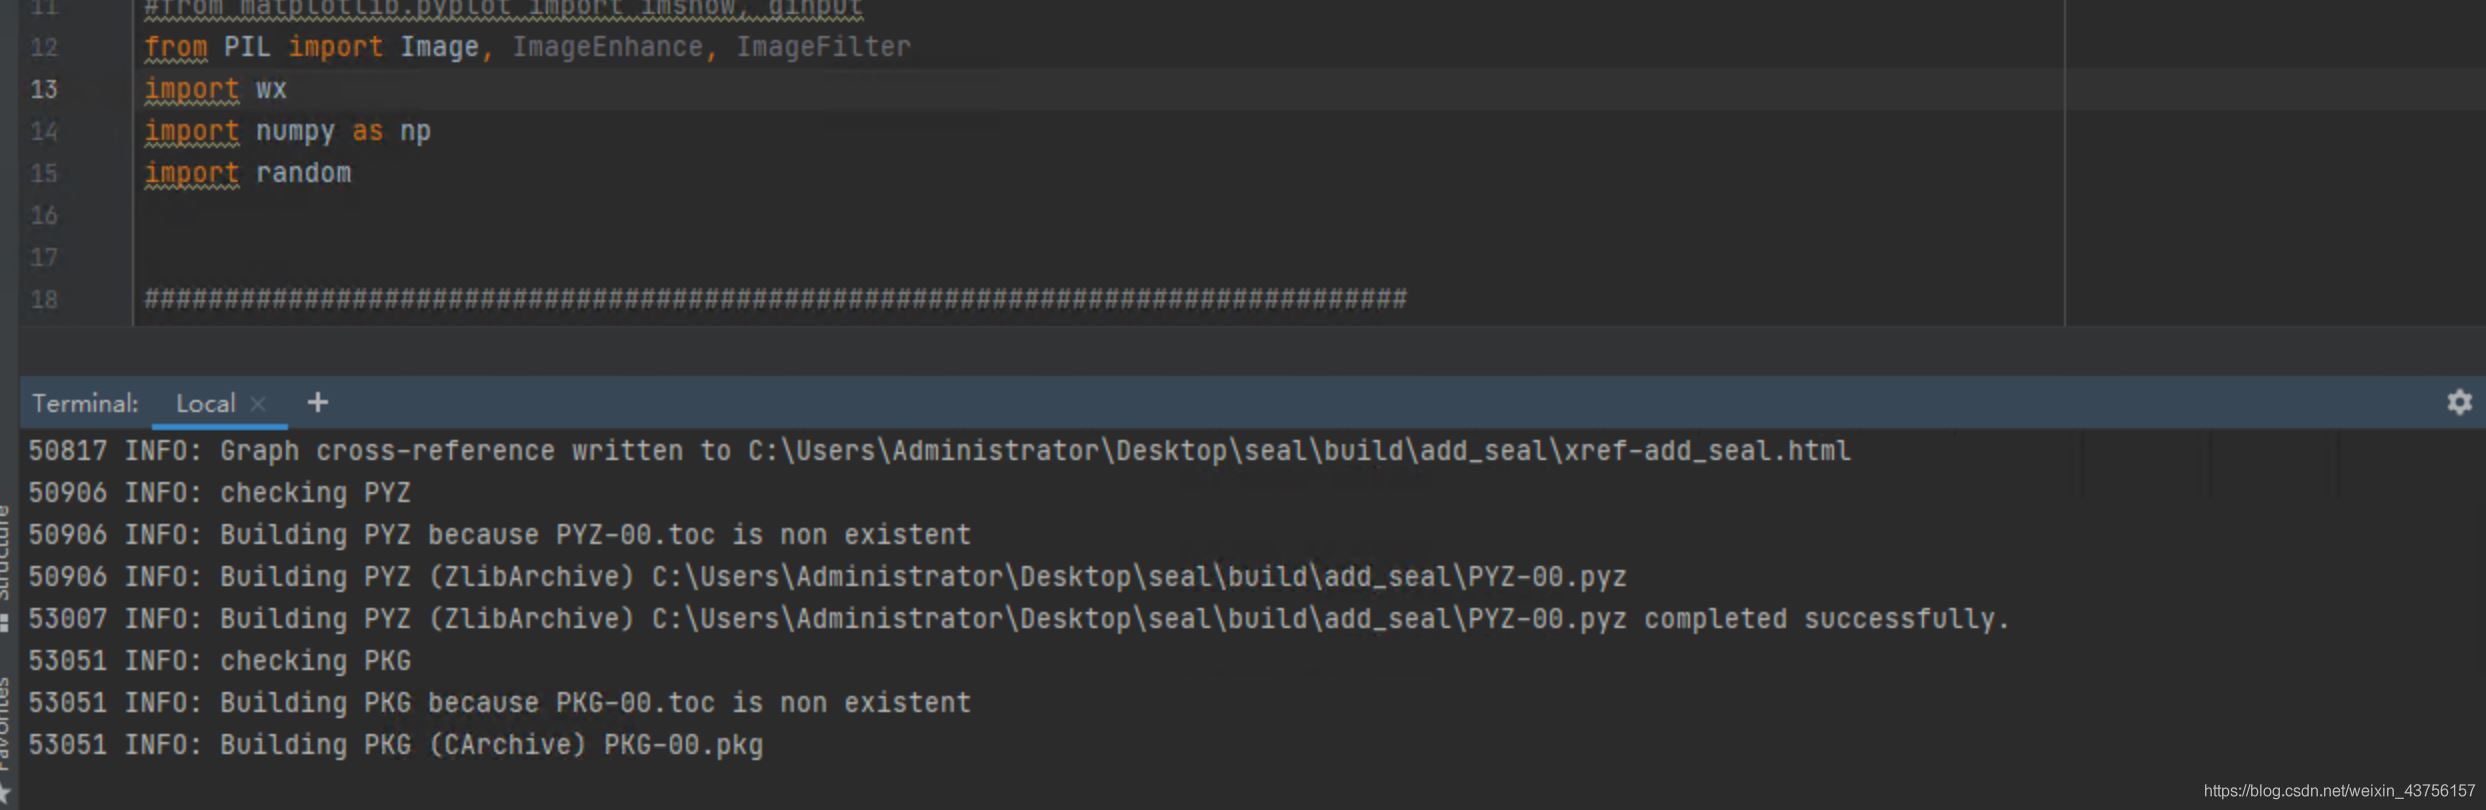
(1)出现以下的打包成功信息:

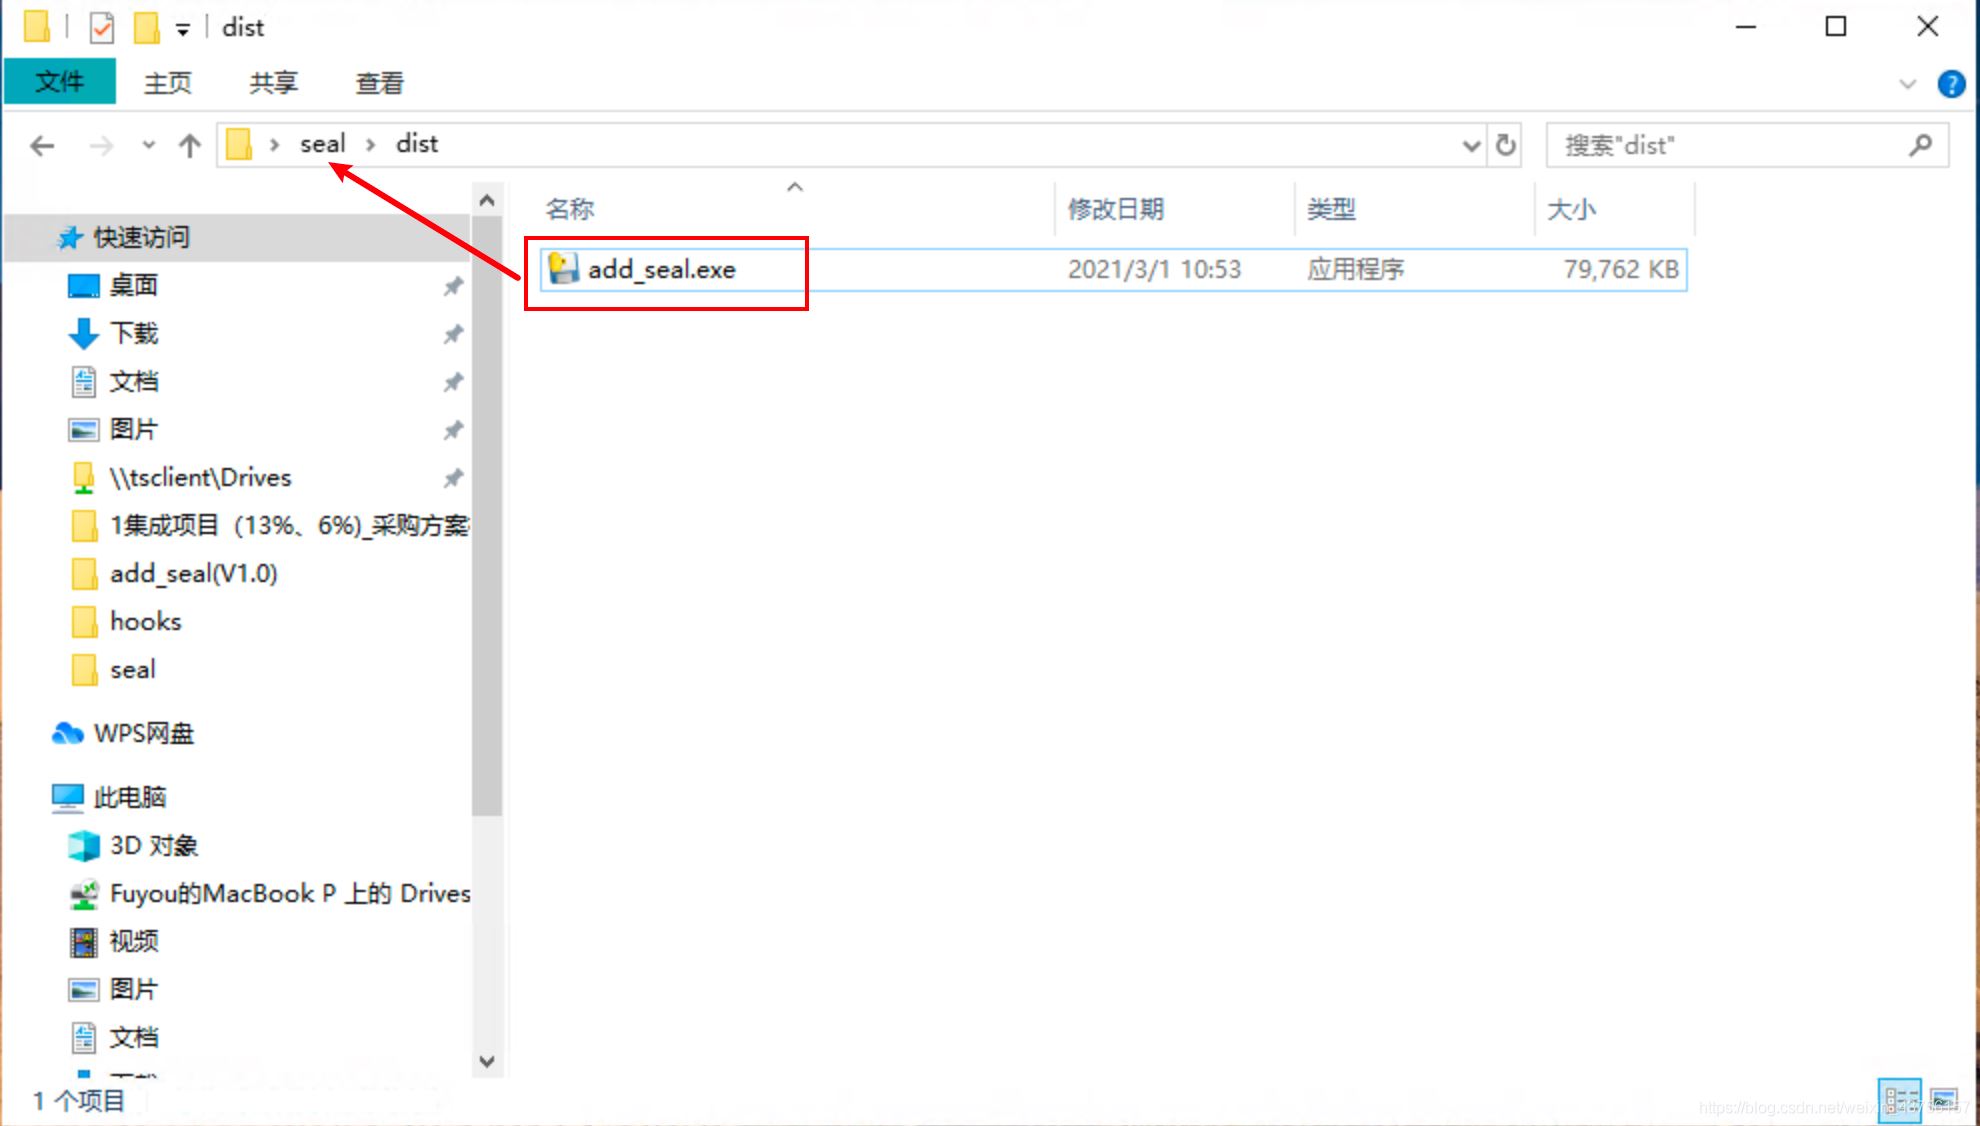
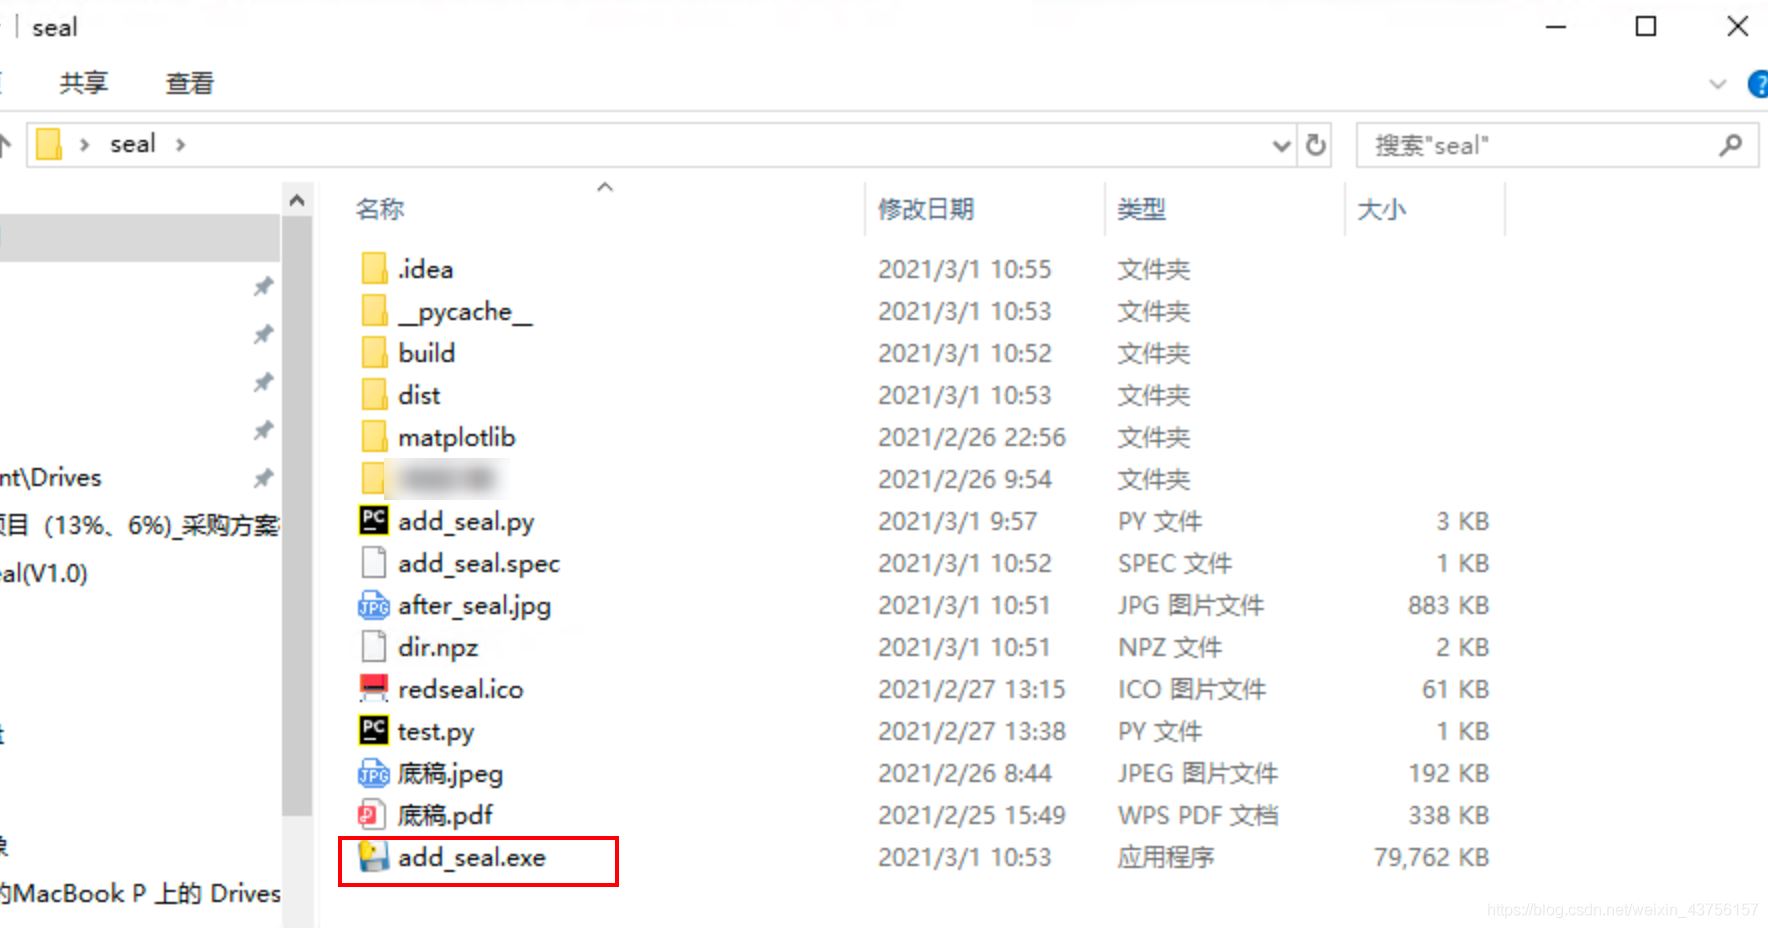
(2)\dist\文件夹出现exe文件:
(3)把exe文件放在主工作区文件夹,并双击运行。
(4)成功!
(5)PS:给EXE文件加图标。
1、找一个ICO格式的图标文件:“redseal.ico”,放在项目文件夹内。

2、加redseal.ico,进行打包exe。
1 | pyinstaller -F -w -i redseal.ico add_seal.py |
3、移动exe的位置,就会出现图标。

到此这篇关于Python实现图片指定位置加图片水印(附:Pyinstaller打包成exe格式)的文章就介绍到这了,更多相关Python实现图片指定位置加图片水印(附:Pyinstaller打包成exe格式)